Sample Measurement Graphs
Click to view videos on roll measurement demos as they proceed on a PC display:
Run-out and Roundness measurements
Crown measurement scaling/filtering/centering
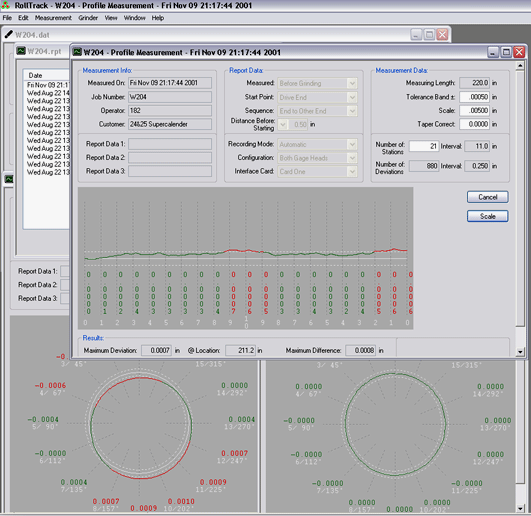
The following are some screen shots of the RollTrack® measurement reports. The top one illustrates how several graphs can be viewed on the same display screen. Out-of-tolerance areas are shown in red color graph and station values.
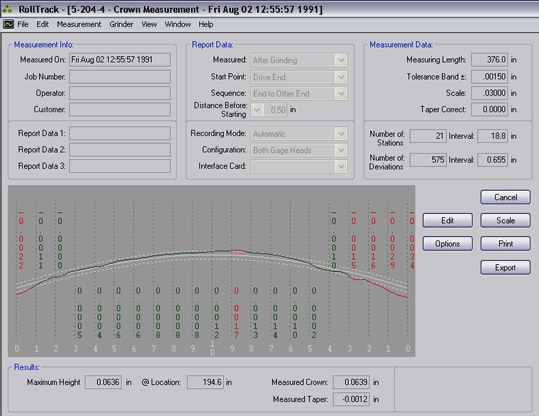
The following graph shows that there is too much crown on the roll with a couple of low spots in it.
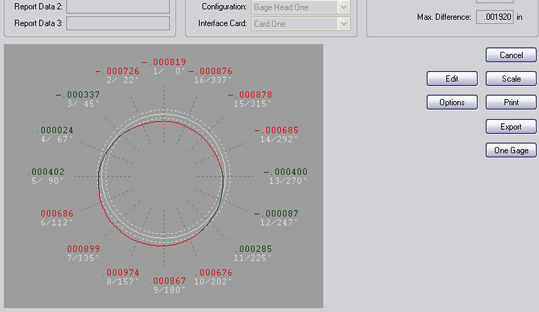
T.I.R. (runout) measurement at the center of a roll:
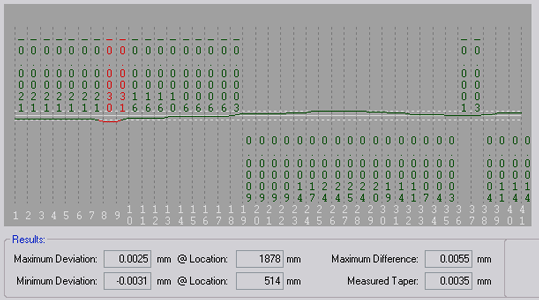
Readings between the sations can be seen by placing the mouse cursor over the graph. The below profile measurement was taken in hight accuracy mode displayed in 0,0001 millimeters
The following roundness measurement report is a good example of trouble shooting paper machine or roll grinder problems. A paper machine was corrugating the surface of a poly press roll causing runnability problems.
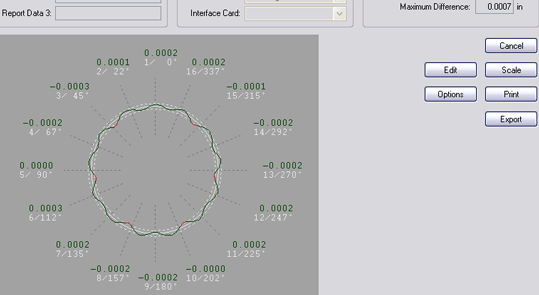
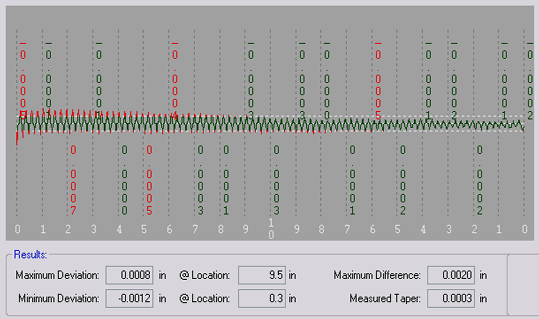
Another diagnostic example: In this case the operator had the roll rotating while measuring (to save time and prevent sag) and it was concluded from the graph variation (and verified later) that there was a bad bearing on the tending end (left side) of the roll.
Download Sample RollTrack® Measurement Reports:
![]()
Profile Report
![]()
Profile Report (mm)
![]()
Crown Report
![]()
TIR/Concentricity Report
![]()
TIR/Roundness Report